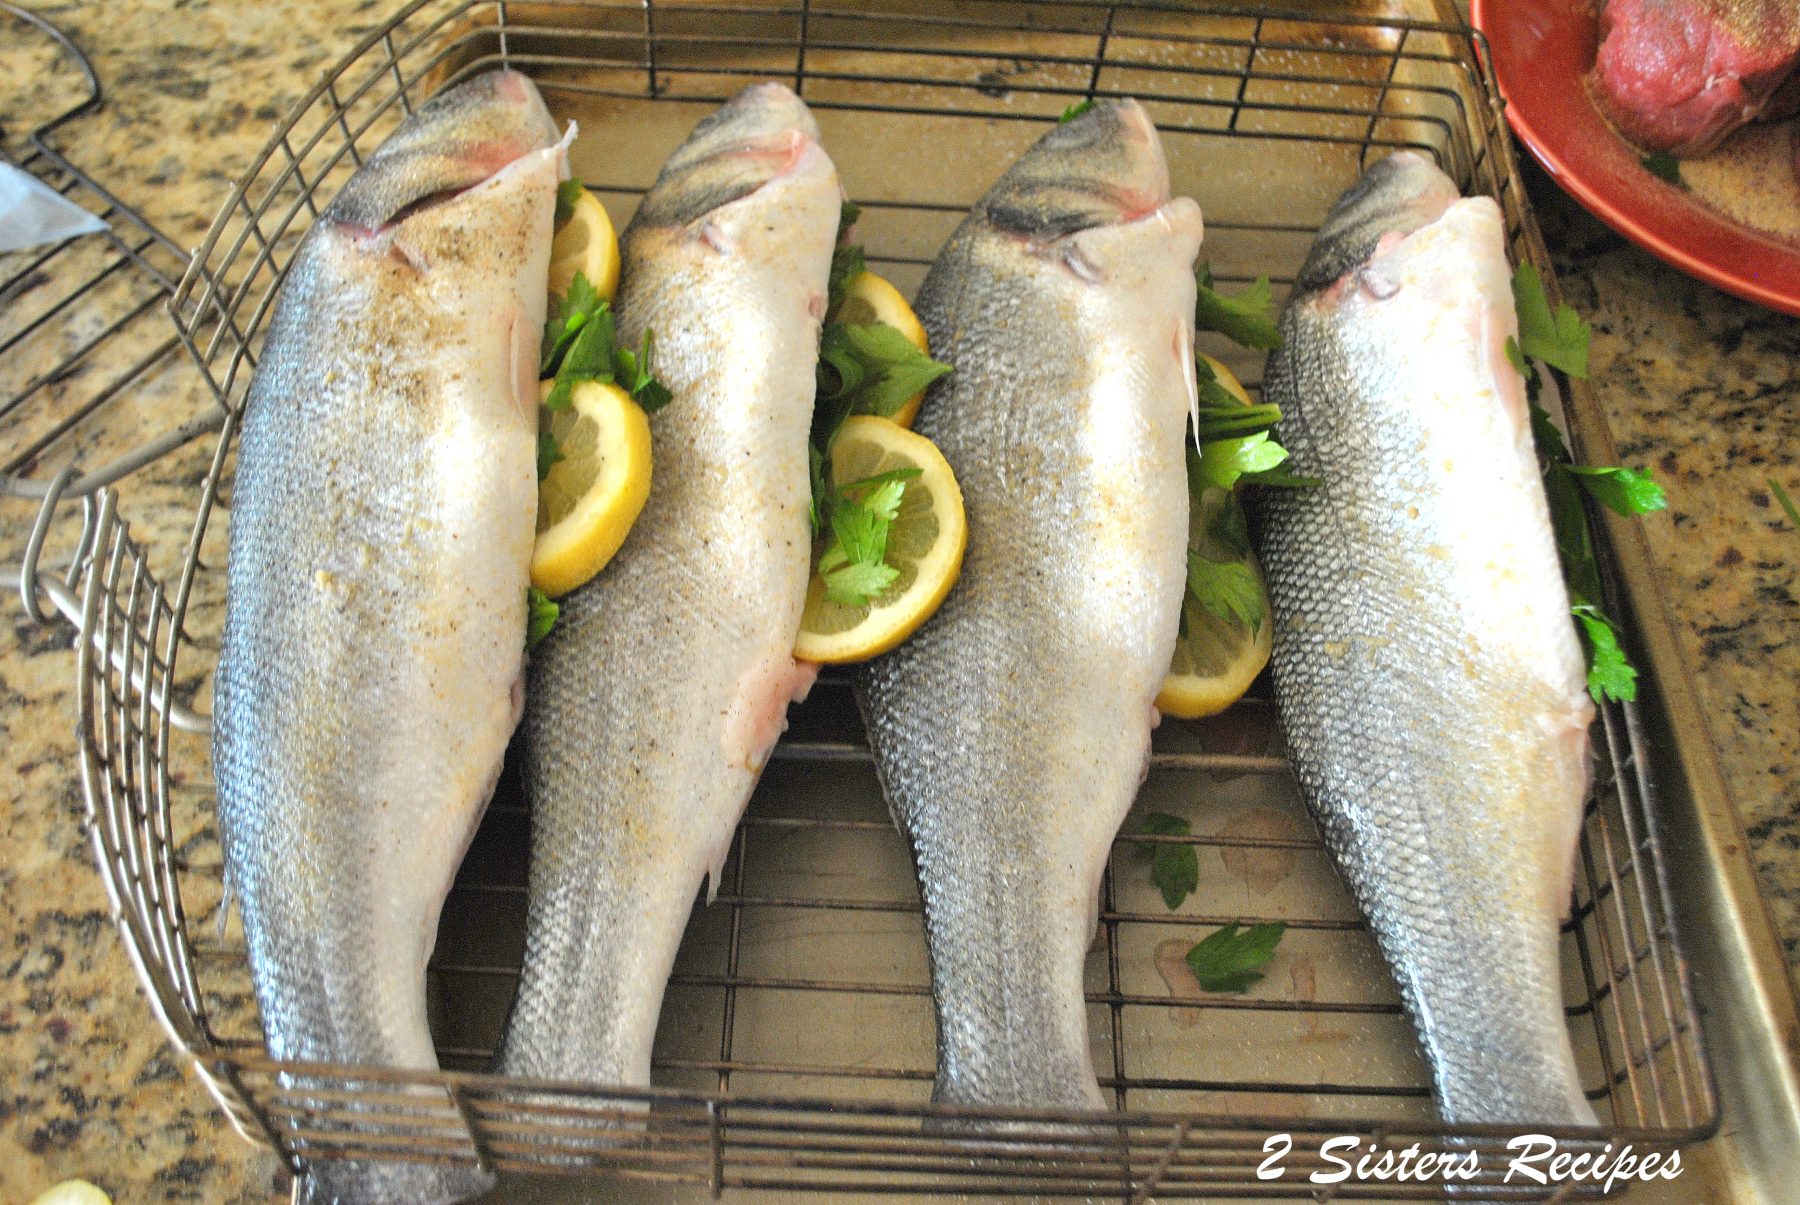
The first step in using a probe thermometer is to ensure its accuracy. You need to make sure the probe is not touching any fatty parts or bone. The probe should point toward the middle of the water. Adjust the calibration nut once the water reaches that temperature. After you have completed the calibration, the probe should be kept in the ice water. The probe should remain in the ice water for as long as you need it.
For thinner pieces of meat, you should insert the probe into the side of the food. Always make sure that the probe is deep enough so that you can get an accurate reading. Generally, you should insert a probe into the side of the food for 15 seconds or six seconds for a quick-read thermometer. Follow the manufacturer's instructions. To avoid any possible problems when cooking, be sure to check the temperature.
After preparing the food, insert the probe into thickest section of meat. Then, use the numberpad to input desired temperature. Within seconds, the digital display will be apparent. If you own a wireless probe thermostat, you can choose one that has a greater temperature range. A meat thermometer can be connected to your phone via Bluetooth. No matter what type of thermometer, it is important to read the instructions before you use it.
Make sure that you properly clean and disinfect your probe thermometer after you've purchased it. For accurate measurements, whether you use a professional or handheld probe thermometer, be sure to calibrate it. To avoid germ spread and allergens, you should sterilize and clean the probe thermometer every time it's used.
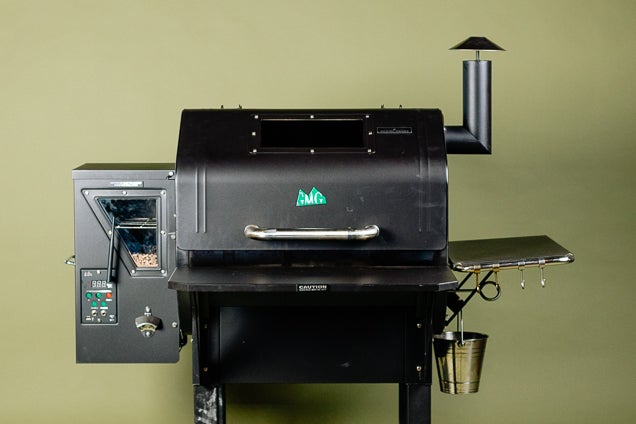
A probe thermometer is useful when cooking large chicken and roasts. To get the best results, place the probe about two to three inches above your cooking grate. It is important to position the probe thermometer at an angle so that it can be used correctly. For grilling, place the probe thermometer on top of the grate. The stem should then pass through the hole in your grilled food.
First, insert the probe into the food to use a probe temperaturemeter. After inserting the probe, connect the probe wire to the receiver. Make sure to keep the probe wire away from heat sources and insert it into the meat. Once the food is done, the wireless transmitter can be used for temperature monitoring in a barbecue oven. To ensure correct accuracy in both cases, the food thermometer must be kept in place during cooking.
FAQ
Is there any difference between a chef or a cook.
A chef prepares meals for others. A cook prepares food for his or her own consumption. While both jobs involve the preparation of food, a chef interacts directly with his customers. This means that they can have to decide what food to serve customers based their preferences. Cooks don't interact with customers. Instead, the cook ensures that the food tastes great before serving it to customers.
Is there any special equipment that is required to cook?
You don't require any special equipment to learn how to cook. However, having the right tools can make cooking easier. You could, for example, use a spoon to make pasta or a whisk to whip the egg whites into stiff peaks. It makes cooking much easier and quicker.
How do you become a chef?
There are many ways to become a chef. A course at a local community college or vocational school is a good place to start. You might also consider going to culinary school. Finally, consider a paid internship.
How much does culinary school cost?
Costs for culinary school vary depending on where you live, how long you study and which program you choose. The average tuition ranges from $10,000-$30,000 per year. Most students graduate with about $20,000 in debt. Some programs offer scholarships, grants, or work-study opportunities.
How do I become a chef?
A culinary arts degree is the first step to a career as a chef. Next, join a professional organisation such as ACF. The ACF offers certification exams and networking opportunities.
Statistics
- You'll be amazed that over 90% of CIA students receive scholarships and grants to finish their culinary studies. (ischoolconnect.com)
- In the United States, the category is estimated at $23.2 billion annually and is growing faster than the market. (washingtonpost.com)
- under 10 Kids have been taught that there is special food just for them, and Fiese says that 10 percent of kids will throw a tantrum if they don't get the food they want. (washingtonpost.com)
External Links
How To
How to make the perfect omelet
Omelets is one of my favourite breakfast foods. How do you make them perfect? Many different recipes and methods have failed to work for me. Today, I'd like to share some tips with you in order to make delicious and fluffy omelets every day.
When making omelets, it is important to be aware that eggs can be temperamental. It is important that eggs are fresh from an organic market and kept cool until used. If they are not kept cold enough, the whites won’t form properly. The yolks will also break down too quickly and become runny. This makes your omelets look weirdly colored. It is best to use room-temperature eggs if you are going to cook them right away.
Another tip is to separate each egg before adding them to the saucepan. The yolk and white should not be mixed together as this can cause the omelet's curdle.
The egg can burn if it is placed directly on the stovetop. Instead, microwave the egg for 10 seconds before adding it to the pan. The heat from the microwave cooks the egg just enough without overcooking it.
Next, let's discuss mixing the eggs. When mixing eggs, it is important to thoroughly beat them. You need to turn the bowl of the mixer upside down. Next, shake the bowl vigorously. This will whip the air around the bowl and mix the egg well.
Now it's time to have fun: pour the milk into the mixture. Pour half the milk into the beaten egg mixture and then fold in the eggs. Do not be alarmed if there are still egg streaks visible. Once the omelet flips, these streaks will disappear.
After you have done folding the eggs, heat the pan on medium heat. The oil will start to smoke. Once the oil has gotten hot, add 1/4 cup of butter and swirl it around so that the entire pan is coated. Next, carefully open the lid and sprinkle salt into your pan. Salt will prevent the omelet sticking to the pan.
Once the omelet has formed, cover the pan again and wait for the top side to set completely. Flip the omelet with a spatula, or flip it upside down. Cook the second side for a minute or so. Take the omelet out of the pan and immediately serve.
This recipe is best when used with whole milk. But, you can use skimmed milk as well.